Illustrator Tutorial: Fur Texture
This tutorial is on texturing. Though my drawing skills and artwork has improved in the software, texture is what I aim for this time.


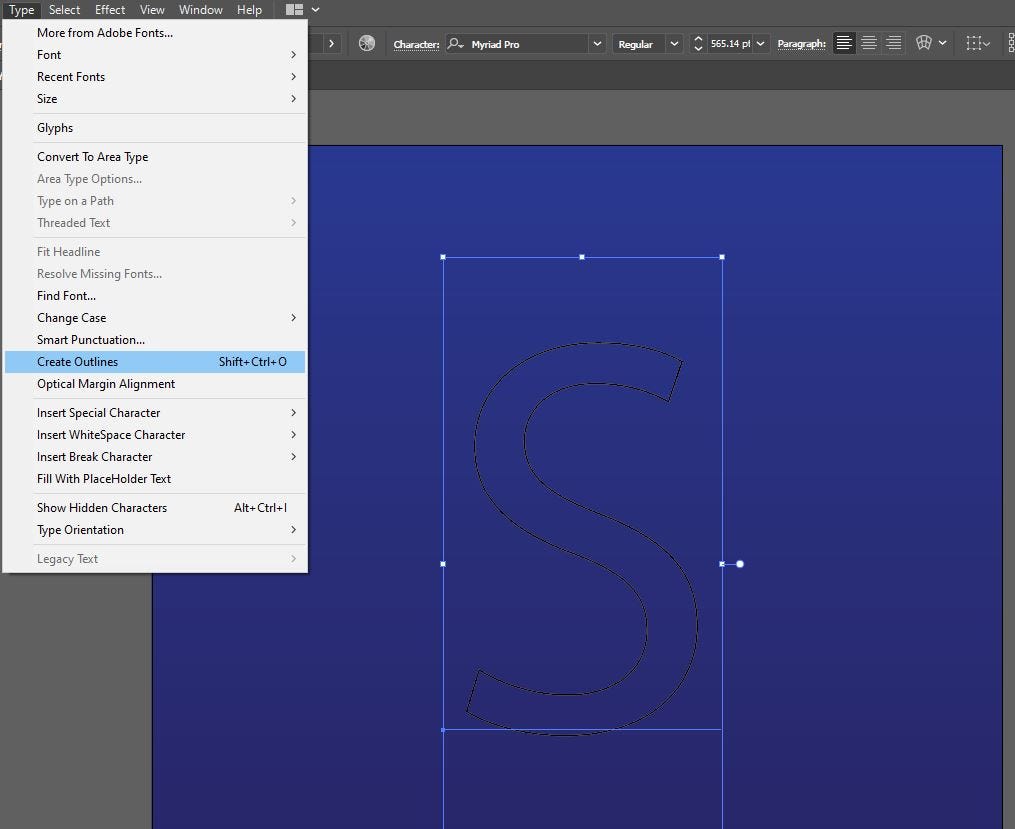
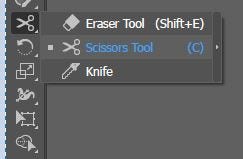

I started off with a plain background, then added in a gradient shape for it, to help the textured letter pop out. I typed in and enlarged the letter S, it’s important to note that the shape needs to disconnected for the next part to work. Once the shape is an outline, create outlines, then use the scissor tool at a point, then test if that point can disconnect from the shape (with the direct selection tool), and if so, put it back in place.
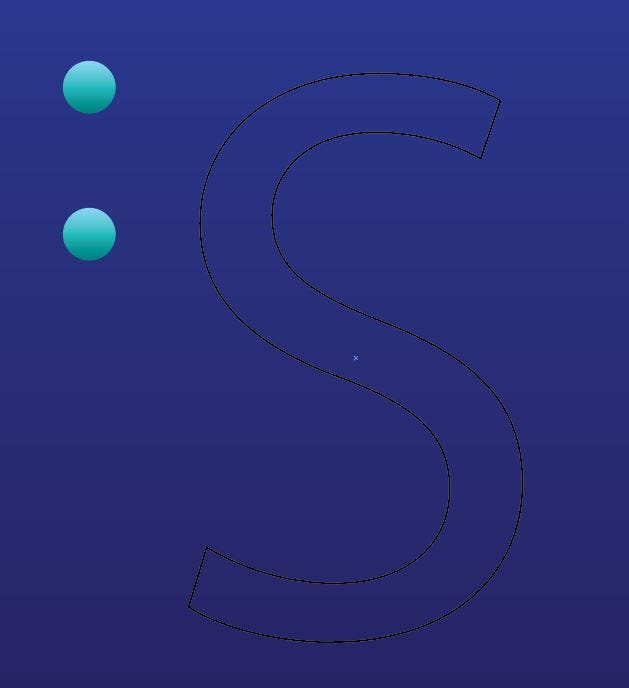
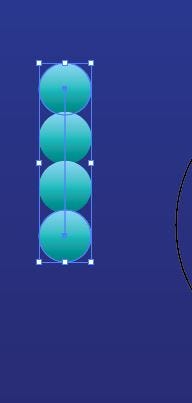

Now that the shape is set up, it’s time for the actual texture. For a realistic effect, there needs to be a gradient to the circles. Once they’re duplicated, use the blend option in top bar to connect them. Once there’s a row of 4, you go select it, double click on the blend tool (on the left side), then blend on specific distance, at 0.04mm.


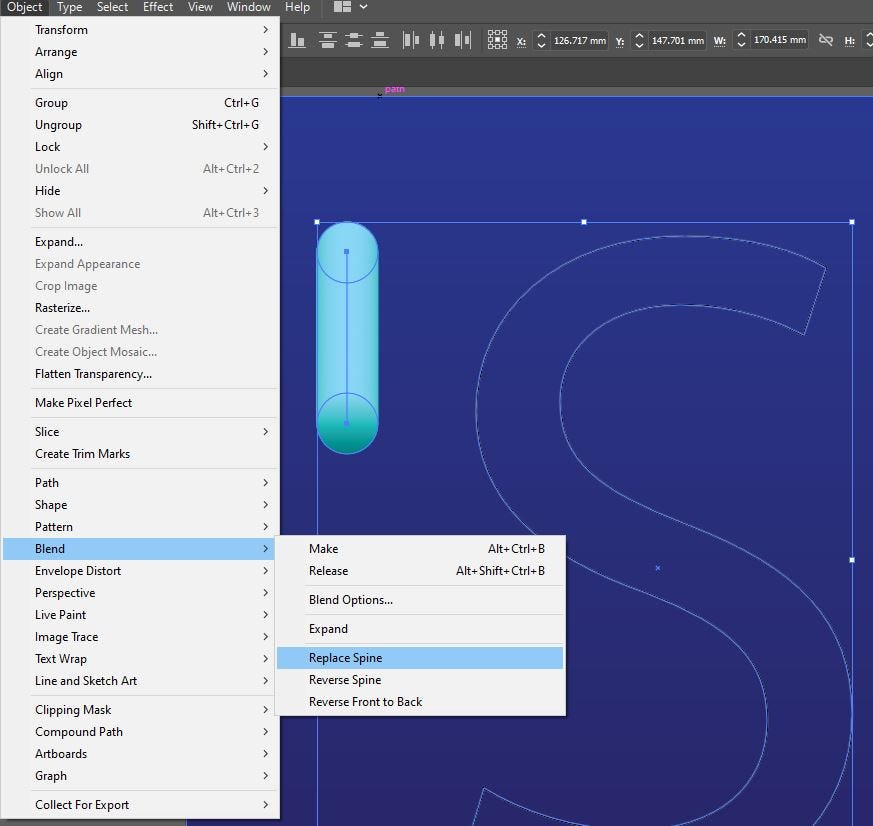
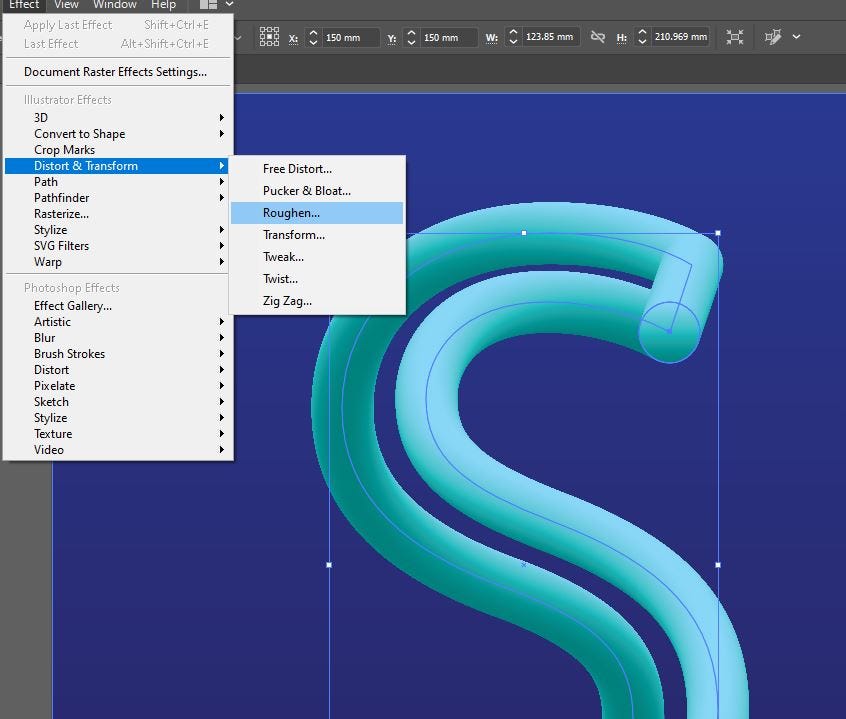

This part is a little bit fickle, but once it’s done it’s easy to get. When you select the outline and the gradient shape, you want to go into blend, and then replace spine. It’s not there, because you need to release it’s compound path. Once the compound path has been released, you can replace the spine, giving you the gradient shape outlines. You need to then go into the effect options, fine distort, then roughen. The options may vary depending on size, so adjust the settings to where it looks fuzzy or fur like.

This was a very enjoyable process, teaching me the fun process of making a 3D texture in Illustrator.
Vector Slate | Graphic Design Tutorials. (2018, April 2). How to Create Realistic 3D Fur Effect in Adobe Illustrator Tutorial. Retrieved April 24, 2021, from Youtube: https://www.youtube.com/watch?v=LqMxioRA7_g
